Big Flavor, No Fire: How to Fry a Turkey Without Burning Down the House
Big flavor, big laughs, zero disasters — a playful, practical guide that gets you crunchy, juicy turkey without the drama. We’ll walk you through the right gear, exact oil levels, simple safety checks, and a foolproof method anyone can follow.
Why Fried Turkey Is Worth the Nerves
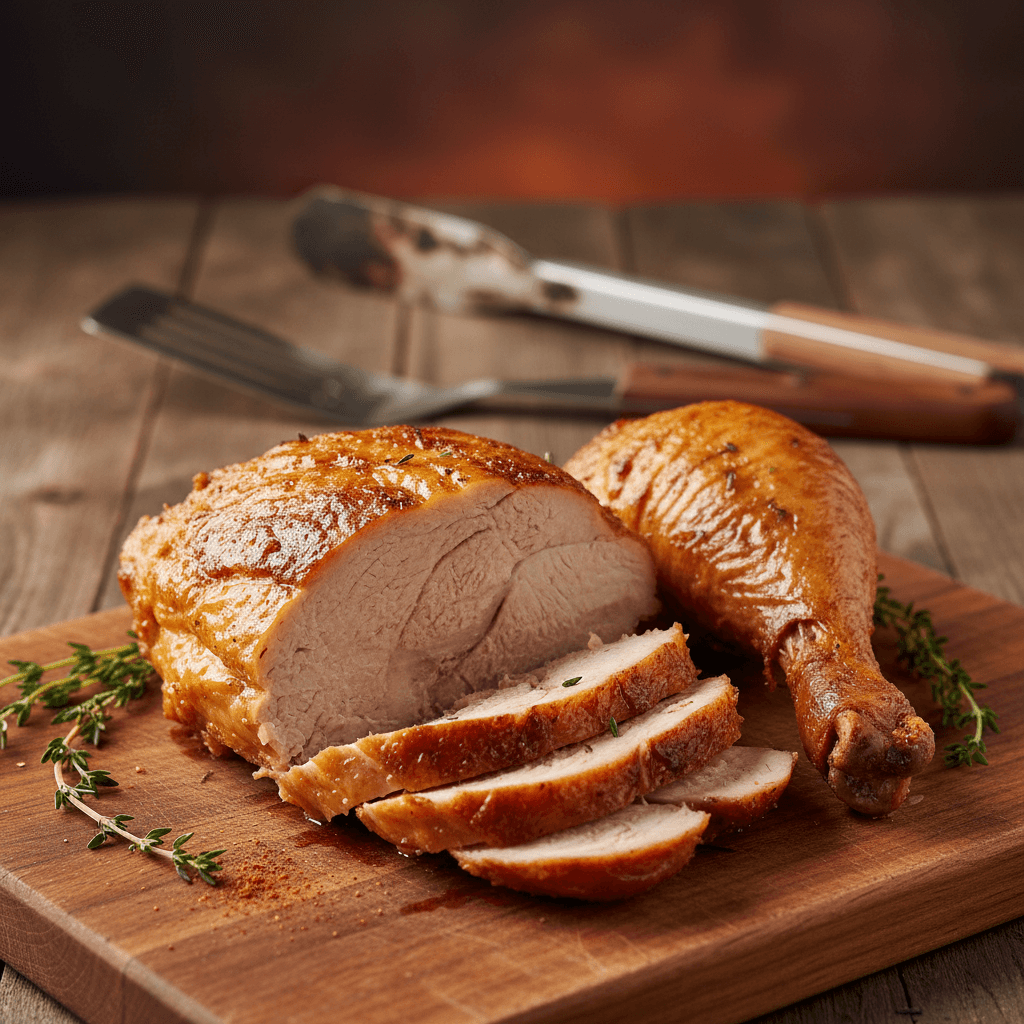
Fried turkey delivers a sensory one-two punch you don’t get from roasting or smoking: a shatteringly crisp skin that sings under the knife and meat so intensely juicy it practically pulls apart with the slightest tug. The blazing-hot oil creates an immediate Maillard sear, caramelizing the skin into crackly, savory shards while locking the bird’s juices inside, so white meat stays tender and dark meat stays silky. It’s not the slow, smoky perfume of a pit-smoked bird or the gentle, even roast of an oven turkey—it’s high-heat theater, a contrast of textures and concentrated flavor that reads as indulgent and celebratory on every plate.
That dramatic result is why frying a turkey has become a backyard legend for holidays and game days: it’s a showstopper that draws a crowd, releases an irresistible aroma of browned skin and seasoned fat, and turns a kitchen staple into an event. There’s barbecue cred in owning the technique—people remember the crunch, the juicy bite, and the communal vibe of watching a golden bird come out of the pot. It’s as much about the ritual and the sensory payoff as it is about the plate of perfectly cooked meat at the end.
Of course, that spectacle comes with anxiety: dramatic videos and horror stories of fires have made onlookers wary, and it’s natural to picture the worst when a giant pot of oil is involved. The good news is that frying a turkey doesn’t have to be risky theater—done right, it’s controlled, repeatable and safe. With a few basic preparations and a patient approach (fully thaw and thoroughly dry the bird, measure oil levels, set up outdoors on level ground, use a thermometer and long-handled tools, and keep a class B extinguisher handy), you remove the guesswork. Most disasters don’t come from the method itself but from a handful of simple, avoidable mistakes—exactly the kind we’ll walk through next.
The One Rule That Prevents Most Turkey Fry Disasters
Use the water-displacement test: place the raw turkey in the empty fryer pot, fill with water until it just covers the bird, remove the turkey and mark that water line as the maximum oil level. Dry the pot and bird completely after the test before adding oil—skipping this or overfilling lets hot oil overflow when the turkey goes in, which is the leading cause of fryer fires.

Crisp, Safe Deep-Fried Turkey
A foolproof, safety-first fried turkey recipe that delivers golden-brown, juicy meat with a crisp skin — includes gear checklist, timing, temperatures, and step-by-step actions.
Ingredients
- Whole turkey (thawed)10–14 lb
- Peanut oil (or high-smoke-point oil)3–4 gallons (enough to cover turkey by 1 inch)
- Kosher salt1/2 cup
- Brown sugar (optional for dry brine)1/4 cup
- Black pepper2 tbsp
- Garlic powder1 tbsp
- Cajun or poultry rub (optional)2 tbsp
- Long-handled turkey fryer with pot and lid1 set
- Propane tank and regulator1
- Deep-fry basket or sturdy hoist and hook1
- Oil/deep-fry thermometer (clip-on or candy thermometer for oil)1
- Instant-read or probe thermometer (for checking turkey internal temp)1
- Heat-resistant gloves and goggles1 pair each
- Class K fire extinguisher (preferred for cooking oils); if unavailable, a Class B extinguisher or a multipurpose ABC extinguisher with a B rating can be used—verify the extinguisher's rating for flammable liquids.1
- Large rimmed tray or cooling rack1
- Paper towelsSeveral sheets
Steps
- 1
Thaw the turkey completely in the refrigerator (allow about 24 hours per 4–5 lb).
- 2
Remove the neck and giblets from the cavities and discard or reserve for stock.
- 3
Pat the turkey thoroughly dry inside and out with paper towels.
- 4
Mix kosher salt, brown sugar, black pepper and garlic powder and rub the mixture under the skin and over the surface of the turkey, then refrigerate uncovered for at least 12 hours for a dry brine.
- 5
Measure how much oil you need by placing the turkey in the empty fryer pot, filling with water until the turkey is covered by 1 inch, removing the turkey and noting the water volume, then emptying and drying the pot completely.
- 6
Move the fryer outdoors onto a level, non-flammable surface at least 10–15 feet from buildings, trees and overhangs.
- 7
Assemble the fryer, attach the propane tank and regulator, and check all connections and hoses for leaks with a soapy water test.
- 8
Fill the pot with the measured amount of oil and leave the lid and thermometer nearby for use.
- 9
Keep a fully charged fire extinguisher within arm’s reach and ensure children and pets are far from the cooking area.
- 10
Light the burner and slowly heat the oil to 350°F with an oil-safe thermometer; this is your initial target before lowering the turkey.
- 11
While the oil heats, tuck the wing tips under and truss the legs or secure the turkey to the hoist/basket so it lowers evenly.
- 12
Put on heat-resistant gloves and eye protection before handling the turkey or basket near the oil.
- 13
Slowly lower the turkey into the hot oil with the basket or hoist, pausing if oil threatens to spill, and then cover the pot with the lid if needed to reduce splatter.
- 14
Reduce the heat as needed and maintain the oil between 325–350°F for the duration of the cook, adjusting to keep the temperature stable.
- 15
Cook the turkey approximately 3–4 minutes per pound when holding closer to 350°F; if you maintain nearer 325°F, allow up to about 4–4.5 minutes per pound. Use oil temperature as a guide but rely on internal turkey temps for doneness.
- 16
Check internal temperature with a probe thermometer inserted into the thickest part of the thigh and the breast near the bone.
- 17
Remove the turkey from the oil when the thickest part of the thigh reaches 165°F and the breast registers 165°F.
- 18
Allow the excess oil to drain back into the pot for several minutes while the turkey rests on a rack over a rimmed tray.
- 19
Turn off the burner and allow the oil to cool completely in the pot on the stable, level surface; do not move the pot while the oil is hot.
- 20
Let the turkey rest for at least 20 minutes before carving to allow juices to redistribute.
- 21
Carve the turkey on a clean cutting board and serve immediately.
Set-Up, Safety, and the Slow Lower: How to Avoid the Scary Part
Location and prep are your first firewall. Always fry outside on level concrete or packed dirt — never on a wooden deck, under an eave, or near the house, garage, or overhangs where a stray splatter or flare could meet flammable siding or rafters. Before you light the burner, do a quick gear check: long sleeves (cotton, not synthetics), heat‑resistant gloves, dry closed‑toe shoes, and eye protection. Have a fire extinguisher rated for grease fires nearby (a Class K unit is designed for cooking oils; if you have a multipurpose extinguisher, confirm it’s rated for flammable liquids). Never, ever try to douse an oil fire with water — a water drop sinks, instantly vaporizes and violently throws hot oil outward, turning a small blaze into an exploding shower of burning oil.
Preheat the oil to the right temperature and the rest becomes a matter of patience. The sweet spot is between 325°F and 350°F — hot enough to crisp skin without turning the pot into a rolling cauldron — and you should clip a deep‑fry thermometer to the pot so you can read it hands‑free. Expect 20–30 minutes to reach temp depending on burner size; the oil should shimmer and give off a soft steady hiss when a pinch of water hits it, but never smoke. If the thermometer nudges past 350°F, reduce the heat and let it settle back down before you touch the bird.
The slow lower is the moment most people remember — for good reason. Hook your turkey to the rig and lower it into the oil over 3–5 minutes, moving inches at a time and pausing whenever the bubbling roars so the surface can calm. That measured rhythm gives trapped moisture time to escape and prevents a violent boil‑over; rushing this step is what makes bystanders gasp and what sends hot oil over the pot rim. Normal looks like steady, even bubbling that hugs the turkey, no oil spilling onto the burner, a visible but controlled flame, and you standing right there the whole time with the extinguisher and the pot lid within arm’s reach.